 Important: Only
those features that you have been granted access to will display. For
access to additional features contact your system administrator. Parents
and student users who require assistance should contact their school or
district.
Important: Only
those features that you have been granted access to will display. For
access to additional features contact your system administrator. Parents
and student users who require assistance should contact their school or
district.
Once you have logged in successfully, you must set up the SchoolMessenger app for your use. Set up includes the following:
· setting up your Profile and Role
· setting up your Notification preferences (school-affiliated users only)
· joining Groups that you have been invited by teachers to join
Important: Only
those features that you have been granted access to will display. For
access to additional features contact your system administrator. Parents
and student users who require assistance should contact their school or
district.

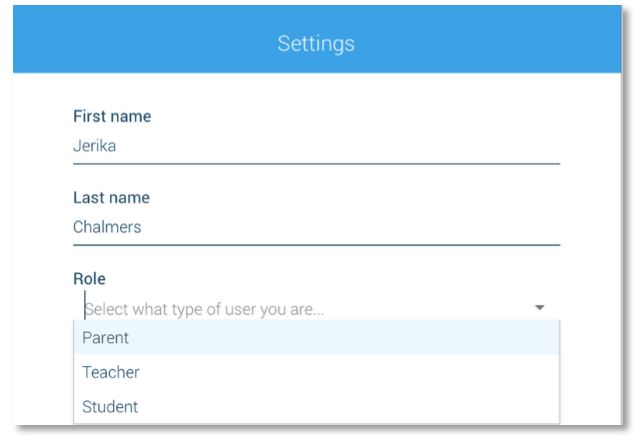
For all User Types, follow the below steps to set up your User Account:
1. Click on the menu option with your login name in it.
2. Click on the Settings option.
3. Enter your first name, last name, and your Role type (Teacher, Student, or Parent).
Your settings must be completed before an account can be used. Failure to do so will cause the system to log you out, and you will be prompted to enter this data next time you log in.

If you’ve chosen the “Parent” or “Student” role and the SchoolMessenger app isn’t able to match your email to any contact data in their systems, your message inbox will appear empty. You’ll have the option to try to match a potential school record using your phone number.
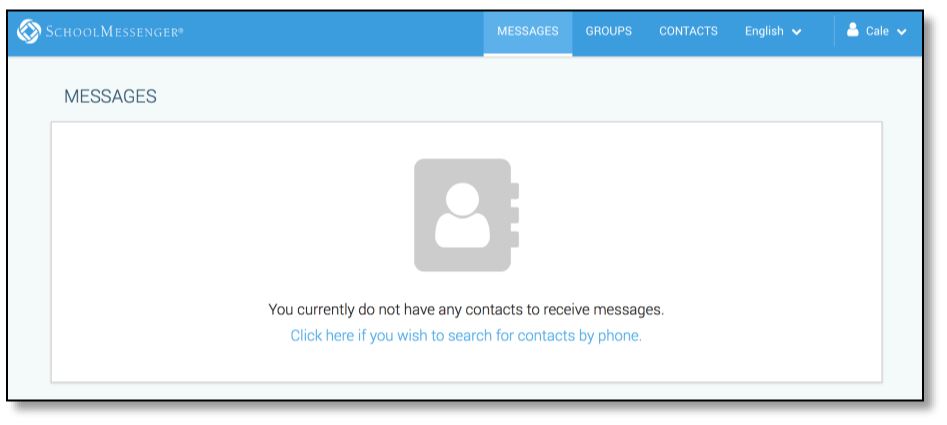

1. Click the “…search for contacts by phone” link at the bottom of the screen. A window pops up asking you to input your phone number.
2. Enter your phone number your school district has on file.
3. Select an option to receive a verification code.
4. Click Send Code. A verification code will be sent to the number you entered.
5. Input the verification code your received and click Verify.
If verification was successful, you’ll see the following screen:
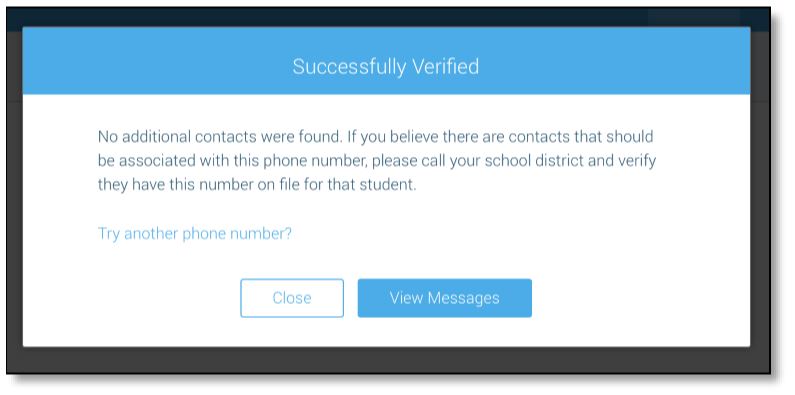
· If the system found additional contacts, they will be automatically added to your App under CONTACTS.
· If the system didn’t find additional contacts, you can try another number by clicking the “Try another phone number?” link. If no phone numbers work, contact your school district to verify that you have the correct phone number they have on file.
Jump to the next topic: Notification Preferences