![]() Important:
This feature is only visible if your system includes the Forms feature.
For more information regarding the Forms feature, please call 1-800-920-3897.
Important:
This feature is only visible if your system includes the Forms feature.
For more information regarding the Forms feature, please call 1-800-920-3897.
To add questions and content to a form, you’ll need to edit the form. To begin editing an existing form, select the Edit option from the menu to the left of the form.

Once you select Edit, you’ll be taken to the form editing window. Here, you’ll be able to customize your form and add specific sections for their survey like multiple choice, check boxes, and/or drop-down menus.
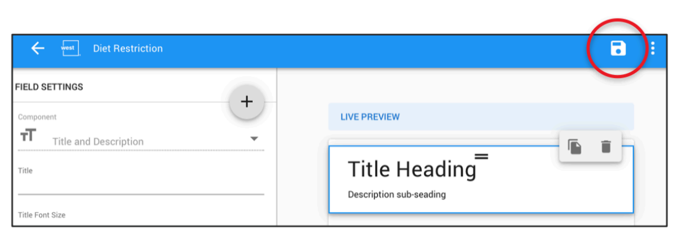
To add a title and description, simply click the section in the right-hand area, or LIVE PREVIEW, of the form editing window. In the left-hand area, or FIELD SETTINGS, you’ll be able to add content and view options for the section selected.

In the example above, the Title and Description sections has been selected in the LIVE PREVIEW. Selected sections are highlighted in blue. In the FIELD SETTINGS, you’ll find fields to add a title and description, as well as any other options to further configure the section.
Adding content in the FIELD SETTINGS will automatically update the LIVE PREVIEW.

Next, you’ll need to add questions, text and whatever other content you’ll need for their form. To add sections, click the radial button with the plus sign in the FIELD SETTINGS area.

Any of the follow section types can be added:
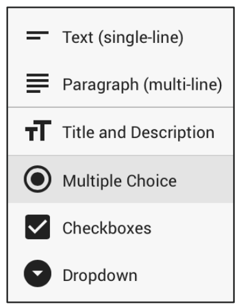
· Text: Add any questions that require short answers with 1-2 sentences.
· Paragraph: Add any questions that require further explanation or paragraphs.
· Title and Description: Add any more titles and descriptions if your form has multiple sections.
· Multiple Choice: Add any multiple choice questions that can be answered by selecting a radial button.
· Checkboxes: Add any questions that can be answered by selecting one or more checkboxes.
· Dropdown: Add any questions that can be answered by selecting options from a dropdown menu.
Each section type allows you to select font sizes, further instruction text, and labels for reporting purposes. You can also select whether or not that field is required.
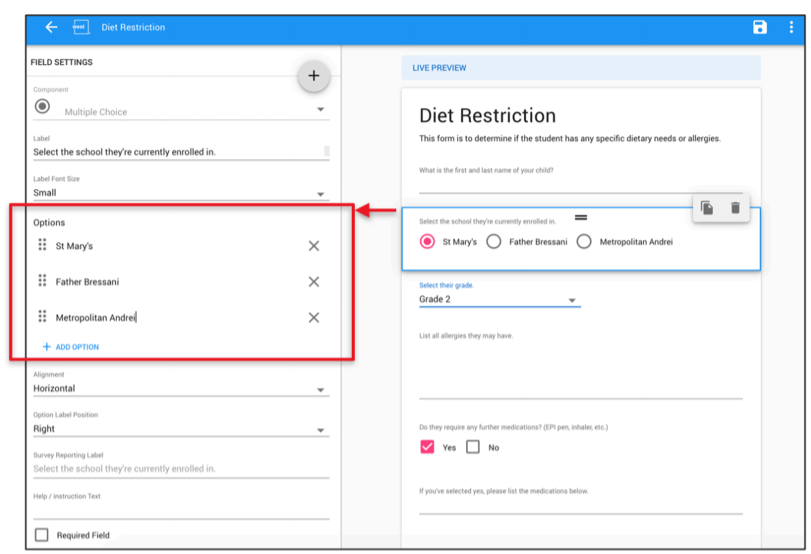
For the Multiple Choice, Checkboxes and Dropdown sections, there’s the ability to add options that the form recipient can select.
After adding the section and selecting it in the LIVE PREVIEW, add the question in the Label field under the FIELD SETTINGS and select the Font Size from the dropdown menu.
Below the Font Size setting, there will be the Options settings. Here, you’ll be able to add, delete, and configure
your options.
· Click the options field to type in an option.
· Click  to
add another option.
to
add another option.
· Click the  to
the right of an option you wish to remove.
to
the right of an option you wish to remove.
· Click and hold the  button
to the left of the option to move the option to a certain place.
button
to the left of the option to move the option to a certain place.
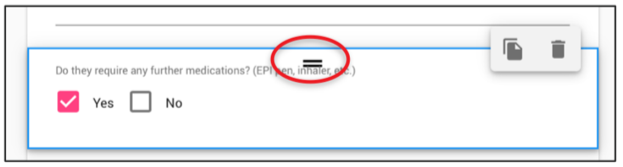
You can further configure your form sections by moving, copying and deleting them. To configure a section, simply click it in the LIVE PREVIEW.
Click and hold the icon located in the top middle of the section and drag the section wherever you’d like it to be in the form.
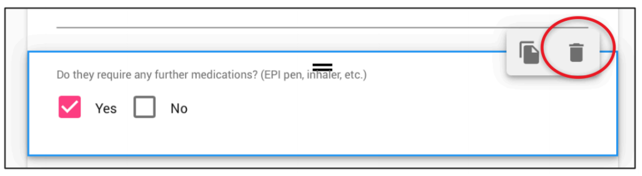
Click the copy icon in the upper right-hand corner of the section you’d like to copy. A copy of the section will appear directly above the copied section.
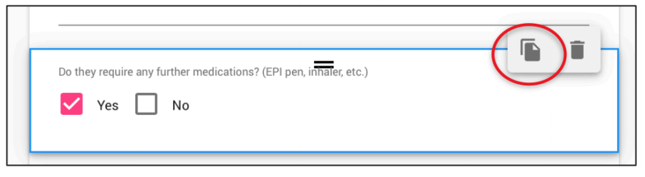
Click the trash can icon in the upper right-hand corner of the section you’d like to delete. The section will delete immediately once clicked.
Simply click the save icon in the upper right-hand corner of the screen to save your edits. You’ll be taken back to the My Forms page.
Jump to the next topic: Sending Saved Forms
©2022 Intrado. Contents may not be reproduced without express written permission.