This is the final step in the process.
1. Go back to the Step that you would like to correct by clicking its green header.
2. Make the necessary corrections.
3. Click Save at the bottom of each screen to keep your changes and navigate back to Review & Send screen.
Important: DO NOT
click Review & Send’s green header after you have made changes to
any of the previous steps. Your changes will not be saved.
a. Message Options: You have a few options to consider before sending your message.
Email me a report: An email will be sent to you showing the details and results of the broadcast after it has finished delivering all you message content.
Skip duplicate recipients: Prevents recipients who have their phone numbers or email addresses associated to multiple records in your list (like a parent who has two kids in the same school) from receiving duplicate phone calls, texts and emails of the same message. In almost all cases, this should be left checked.
Save Message Content: The entire contents of Step 2, Message Content, will be saved in the “Message Builder” under the Broadcasts tab of your SchoolMessenger account. This is helpful for messages that you will be using on a frequent basis, where the message content does not change. Most messages are unique and should not be saved for later use. You can still review the content of any broadcast, listen to voice, or read SMS and email messages from the Broadcasts screen of your account at any time.
b. Schedule to Send Later: You can set a start date, start time and end time.
1. Click in the Start Date field and use the calendar tool to click on the day you want the broadcast to start.
2. Use the slider by grabbing the left tab with your mouse pointer to set the start time and the right tab to set the end time.
3. Click the Submit Scheduled Message button when done.
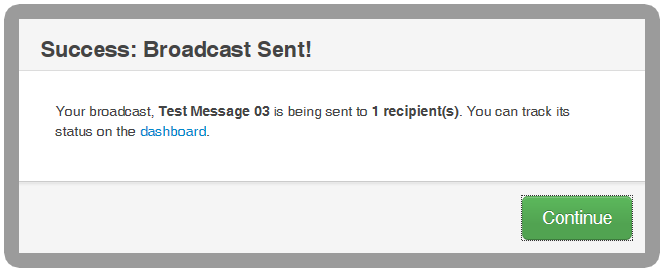
Once you have chosen "Send Now" or "Submit Scheduled Message", you will get this final confirmation message. Clicking Continue will return you to your Communicate Dashboard.
