![]() Important:
This feature is only visible if your system includes the Forms feature.
For more information regarding the Forms feature, please call 1-800-920-3897.
Important:
This feature is only visible if your system includes the Forms feature.
For more information regarding the Forms feature, please call 1-800-920-3897.
The Forms feature allows forms-enabled user profiles to create forms to send to recipients to collect specific information.
For forms-enabled user profiles, follow the steps below to access the Forms feature:
1. Click the Broadcasts tab and then the Forms sub-tab. A new window for forms will open.
2. In the Forms window you will see all forms you’ve created, as well as be able to create a new form.
3. Click the  button
in the upper right-hand corner to create a new form. A window to create
a new form will open.
button
in the upper right-hand corner to create a new form. A window to create
a new form will open.
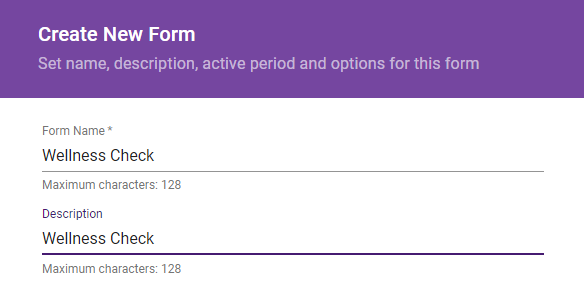
4. Enter a form name and a brief description.
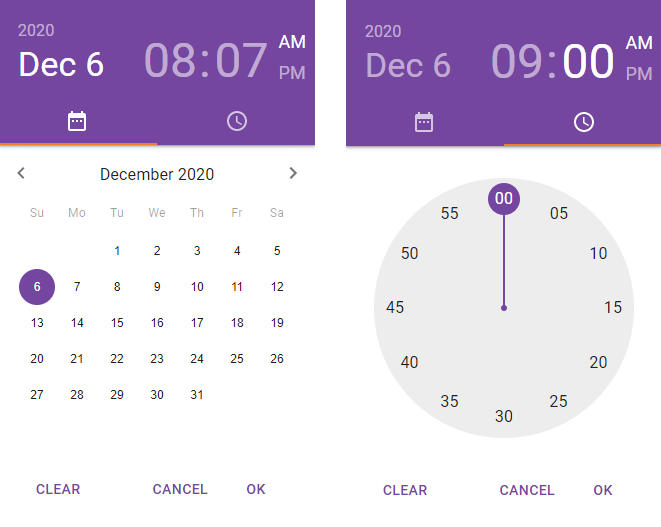
5. Enter a date and time for when the form will be active and an expiration date for when submission will no longer be allowed. Switch between setting the time and date by clicking their respective tabs.
· Click CLEAR to reset the date and time and enter a new date and time.
· Click CANCEL to cancel submitting a form and to return to the Create New Form screen.
· Click OK to save your settings and to return to the Create New Form screen.
6. You also have the option to further customize your form. Select any of the form options by checking any of the boxes or by checking none.

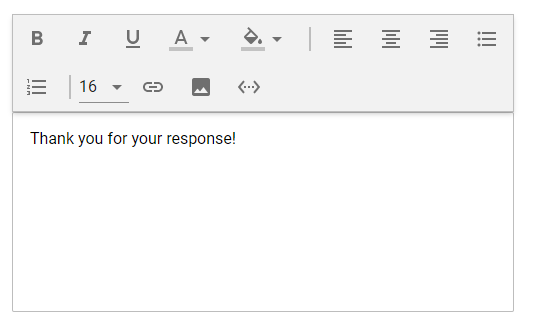
7. Enter a confirmation message that you would like to display to your recipients once you’ve submitted the form.
8. Click SAVE to complete and return to the Forms page.
The form has been saved. From here, you have the option to configure your form settings that you set when you created the form, Edit, Copy, View Responses, and Delete your forms.
Jump to the next topic: Editing a Form
©2022 Intrado. Contents may not be reproduced without express written permission.